Dice maths investigation using Scratch

This week I did a maths investigation I recall doing myself when I was at primary school – and that was a long time ago! It’s the one where you find out which total scores, if any, are more likely when you roll 2 dice.

My modern twist was to combine this with a Computer Science lesson and some Scratch programming. You could do this in almost any KS2 class I think, with varying amounts of support.

I asked what we’d expect to find if we roll one die – most assumed we’d get a fairly even spread of numbers, though some thought 6 would be less likely. We soon found great variation, some groups never rolled a 5, another group rolled 1 way more than any other number. We had a discussion about why this might be – were our dice rolls really fair? Generally, though, we agreed the probability of getting any particular score from 1 to 6 was… 1 in 6. How could we get better results? By rolling the die more often! It was getting a bit tedious, though…

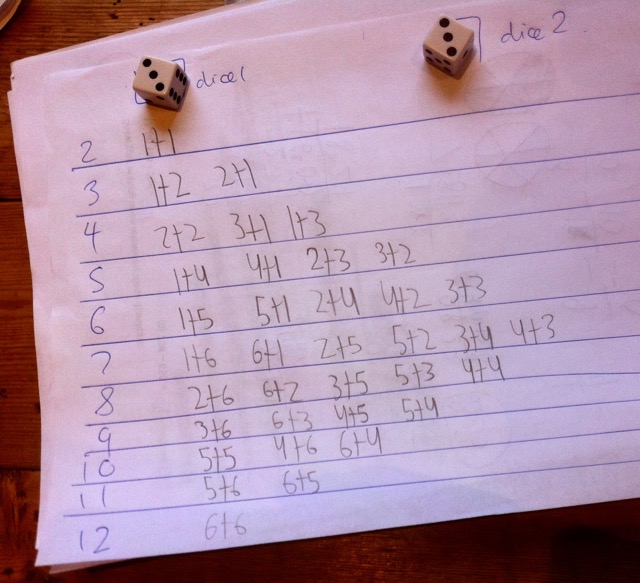
We then tried rolling 2 dice, added them and tallied how many of each possible score from 2 to 12 we got. We soon found that 6, 7 and 8 seemed to crop up more than any other number. To find out why that might be we wrote out every possible way of making each total:

Now it’s clear that there are more ways of making 7 than any other number.

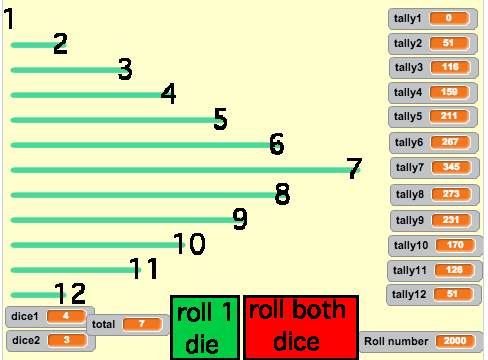
To prove this we then used a Scratch project I made (though with more time I’d get the pupils to make it themselves). We used it to simulate 10,000 dice rolls!

(Embedded Scratch project below requires Flash)

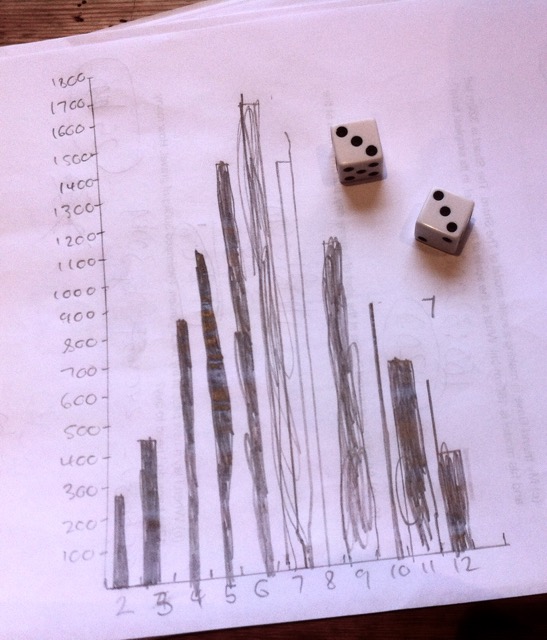
We drew rough and ready bar charts on scrap paper to record our findings – and saw that the distribution spookily mirrored the chart we made of the possible ways of making each total:

I’ve since tweaked the Scratch project so it actually plots bar charts using turtle graphics. Click the green flag to reset, then choose if you want to roll 1 or 2 dice. This works well with up to about 2000 throws.

(Embedded Scratch project below requires Flash)

There are loads of ways of extending this. Can you work out what the ratio is of the number of 7s you make and the total number of throws? You’ll find that the more rolls you do, the closer this approaches a certain ratio. What is it? Why is this? Could the gifted coders in the class remix the project so that it scales the bar charts to fit the screen depending on how many throws you make?

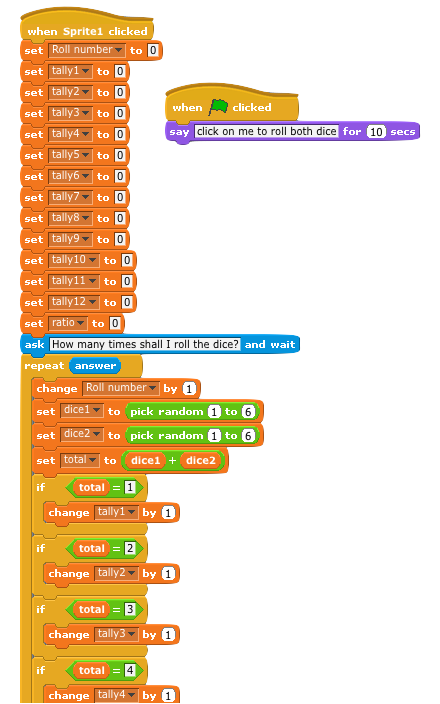
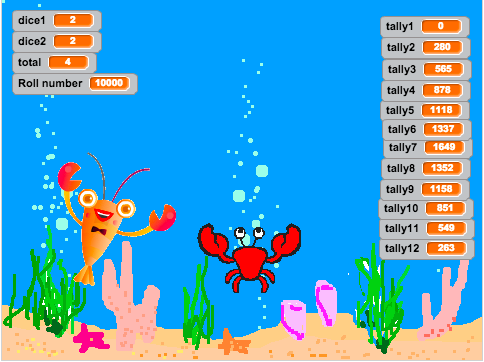
If you use this activity or remix the Scratch project, let me know! It’s a Scratch version 1.4 project for maximum compatibly and Raspberry Pi-friendliness. Here’s a chunk of the lobster’s code blocks:

Posted in education, ICT | Tagged , | Leave a comment

Upcycling old netbooks

My school has a large number of old Asus eeePC 1001PX netbooks. They originally had WindowXP on, which obviously is no longer supported so their use was limited. Our IT department had rebuilt them with LXDE Linux for use in controlled assessments. Controlled assessments are a thing of the past now, so the netbooks were about to be chucked out to save space.

Now I can’t stand seeing things like this being thrown away, so I took one away on a school trip and found it perfectly serviceable for reading my school web mail, and even blogging on our VLE, uploading photos from the netbook’s built-in SD card reader. Our coach had wifi, so I could even do this on the road.

I’ve since played around a bit more and found a whole heap of possible uses for these. We are going to run this as a project to get the pupils to find the best uses and to see if they can identify a group that might like to be given a set of these netbooks.

I wiped one clean and installed Lubuntu – a lightweight version on Ubuntu. It’s friendlier than LXDE was, I think pupils will find the UI more familiar, and it runs quite well on the eeePC.

Focuswriter is a distraction-free word processor that gives you a blank sheet of paper, basic formatting and it can save in .rtf format. Could be useful (with internet disabled in the bios!) for forcing pupils (or staff) to get on and write!

Programming tools could make a set of laptops for a code club or class use: Scratch, IDLE/Python, Sonic Pi are all easily installed. Having trouble getting Mu to install though… There’s also a logic gate simulator Logisim and a whole heap of educational software for other subjects, especially maths and sciences. Plus there are apps like Inkscape which is a lovely free vector graphic design tool like Adobe Illustrator.
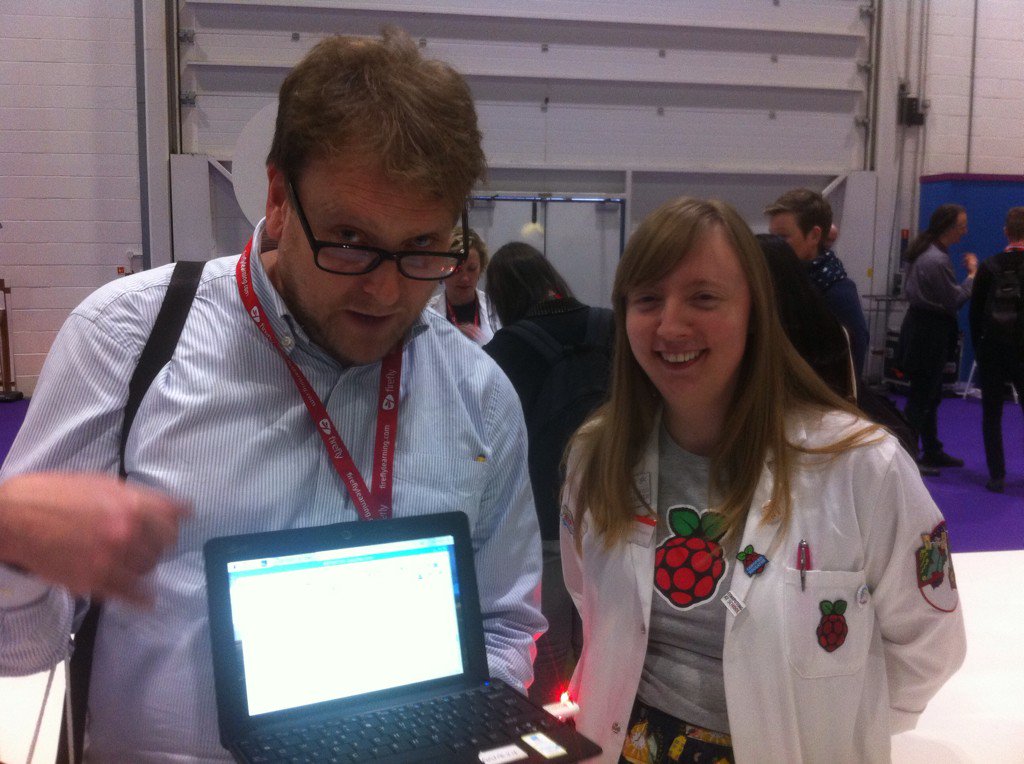
The Raspberry Pi PIXEL OS runs like a dream on these machines! I’ve only run it off a USB stick so far but I used this at BETT (below) to take notes and I got about 4 hours of battery life of a laptop destined for the bin. It comes with all the usual coding tools like Python, Java, Sonic Pi and the like. In the photo above you can see me showing Raspberry Pi’s director of education Carrie-Anne Philbin just how awesome their PIXEL OS is running on old netbooks.
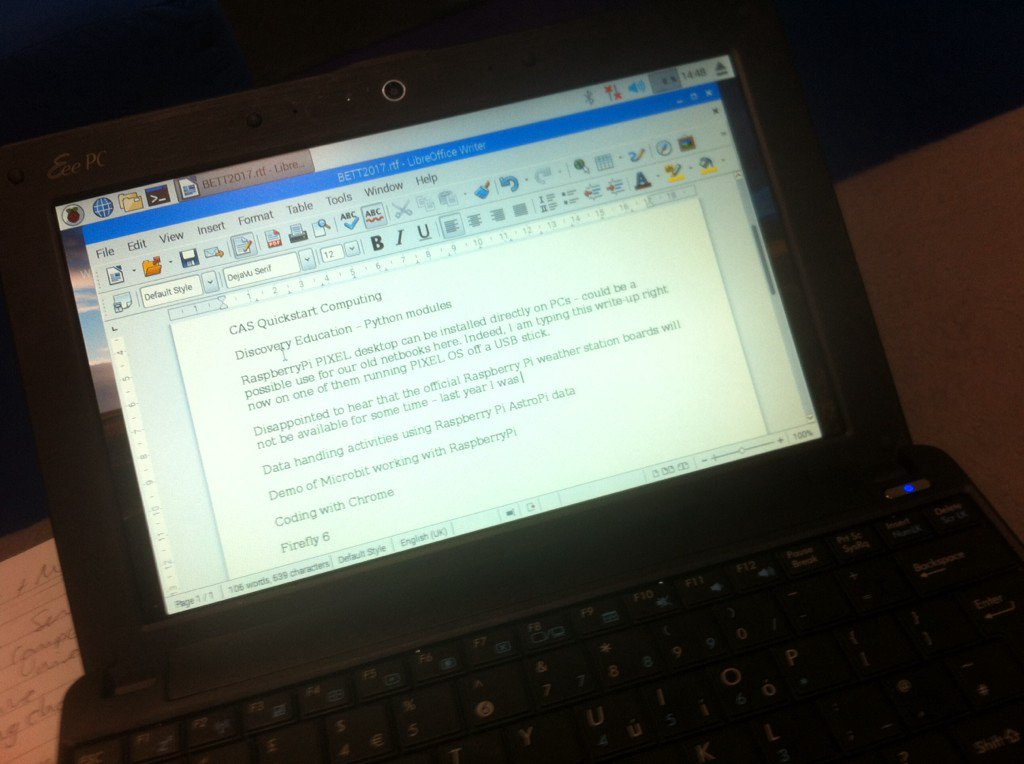
Persistence mode means you can keep your work on the PIXEL USB stick – it’s like having your own computer on a stick. It also means that you’ve turned a laptop into a self-contained Raspberry Pi! If the awesome Ryantek RTk.GPIO board works with this you’d have access to all the GPIO pins too for real world physical computing. This saves on money buying screens, power supplies, keyboards, mice. Sure a code club would love a set of these machines? I can’t wait to get a proper PIXEL install on the hard drive!
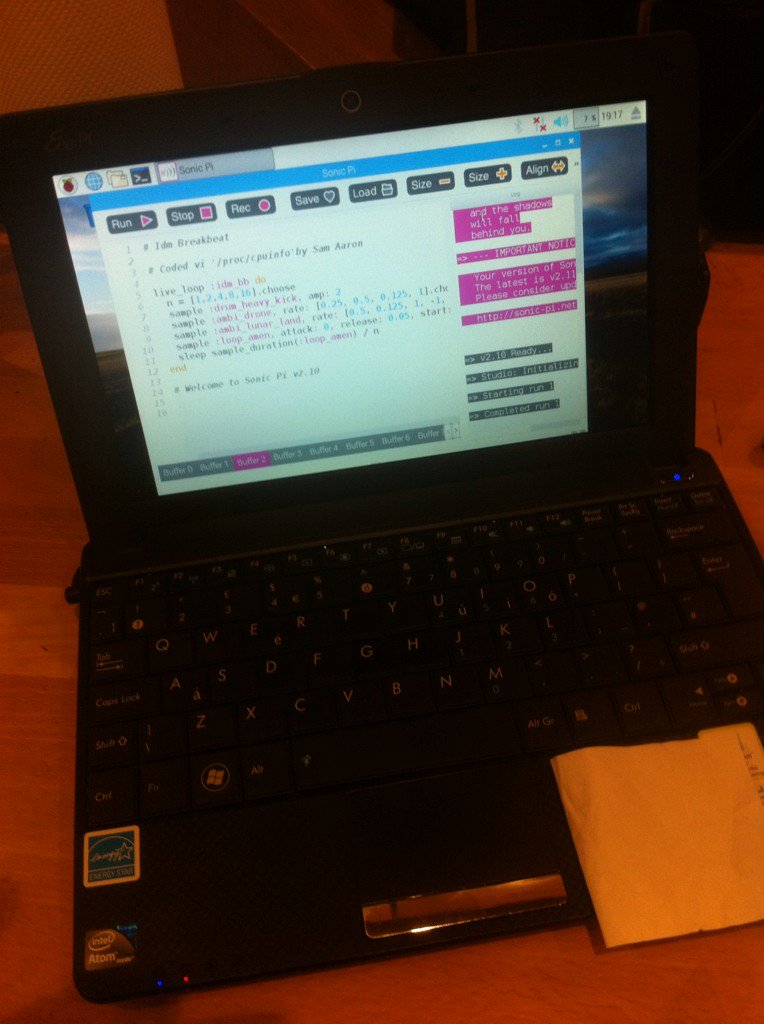
 

Citrix Receiver
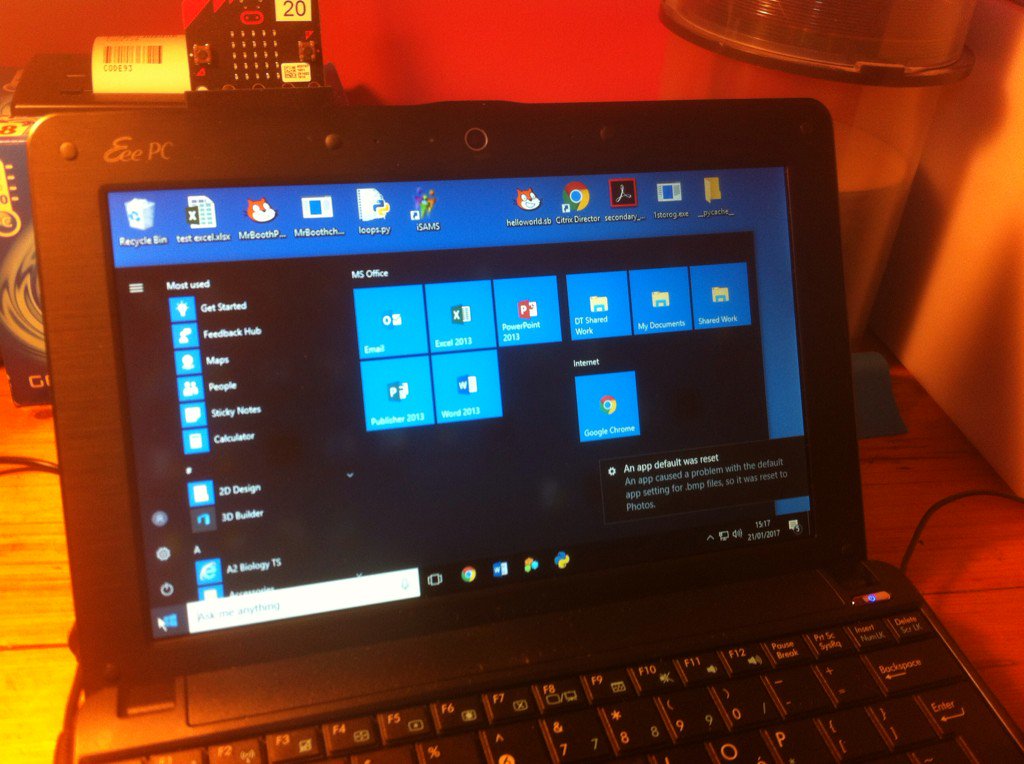
I installed Citrix Receiver without too much difficulty and found I could connect to our school’s Windows VDI pretty much as well as I can on my MacBook – giving me access to all my school data and apps like Microsoft PowerPoint, Excel and Access.

Audio workstations for school radio or theatre
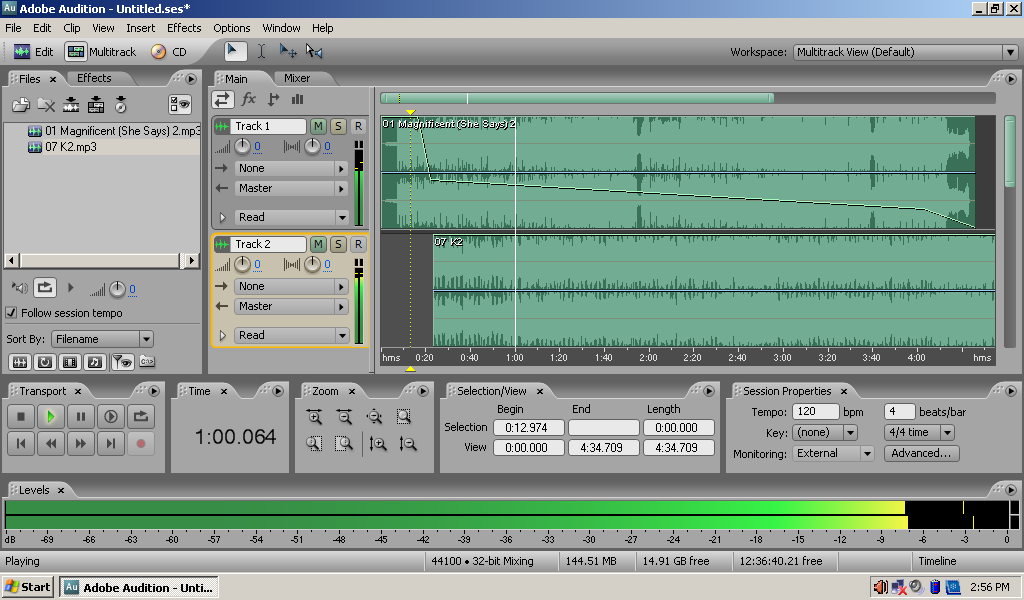
Today I wiped my netbook clean again and installed… WindowsXP! There was method in my madness – there are two old bits of audio software that a) run in Windows and b) remain very useful. One is Adobe Audition 3, which (arguably) Adobe gave away when they stopped supporting it. This is still my favourite tool for editing and mixing speech audio – I used it for many years in the BBC and have made countless radio programmes and packages on it. The other is CoolPlay – no it’s not a Coldplay tribute band. Well it is, but this is a simple program but I have never found anything else that does the same job so well (disclaimer: I designed the splash screen!). CoolPlay allows you to make playlists  of audio files (WAV, MP3 it doesn’t care) which you can play – and here’s the crucial thing – and it then stops at the end of each file by default. Most audio playlist programs keep playing, but in radio you normally want each item to play, stop, then cue the next one. It even tells you the ‘out time’ when any clip will finish. CoolPlay was used a lot on BBC radio and it can be wired up to external remotes on mixing desks for fader or button start.
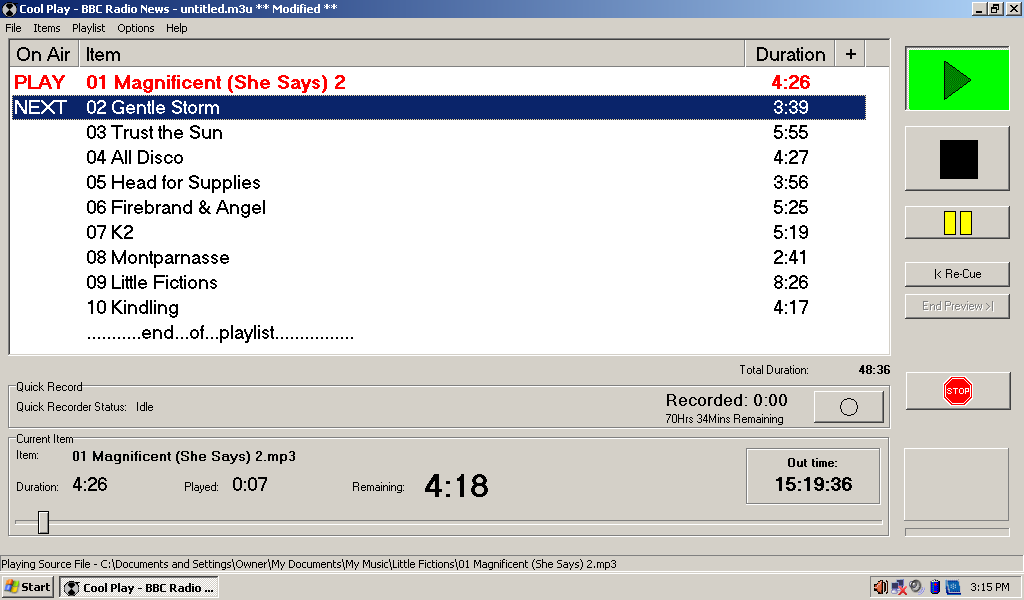
I may build some of these netbooks as internet-disabled audio workstations with audio mixing/editing software – Audacity could replace Audition on a Linux version – which could be used for school radio or for drama – CoolPlay would be great for playing music and FX in a school play.

Dual-boot WindowsXP and Linux

I’ve made my machine dual-boot WindowsXP and Lubuntu at the moment – I did this the hard way and discovered that installing WindowsXP on a netbook designed to run WindowsXP (lacking the original disks) is much harder than any of the Linux flavours I have tried – not even the ethernet socket worked! I had to download and install a LOT of drivers on top of vanilla WindowsXP Home Edition before I could even activate Windows and get any sound out of it. All the Linuxes I’ve tried have just worked!

A top-tip if you want to build a dual-boot XP/Lubuntu machine – format the whole drive as NTFS and do a clean install of XP if it’s not already on the machine, THEN boot the computer of a Lubuntu USB stick or live CD and choose ‘install alongside Windows’. I have a 20GB WindowsXP partition and the rest of the 160GB drive is given over to Lubuntu.

Posted in Uncategorized | Leave a comment

Lightbulb moment: learning logic gates with switches

I introduced logic gates to year 9 again this year. Last year we did the theory, filled in truth tables and then I got them to built half and full adders in logic.ly – which was fine, they really got into it.

This year though I took a different tack. Inspired by reading Code by Charles Petzold, I decided to introduce the theory of the AND, OR and NOT gates but back this up with some physical creation of the first two of these gates.

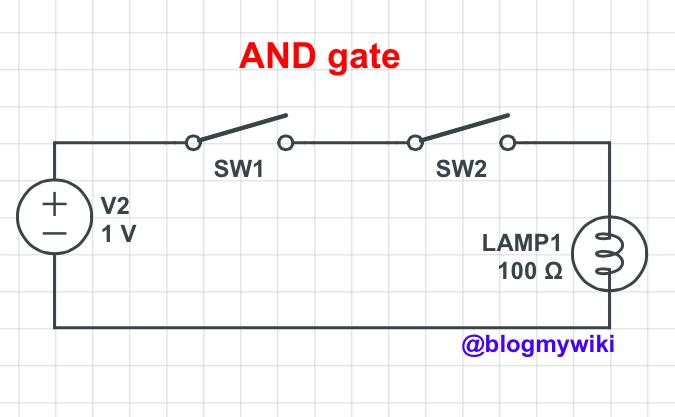
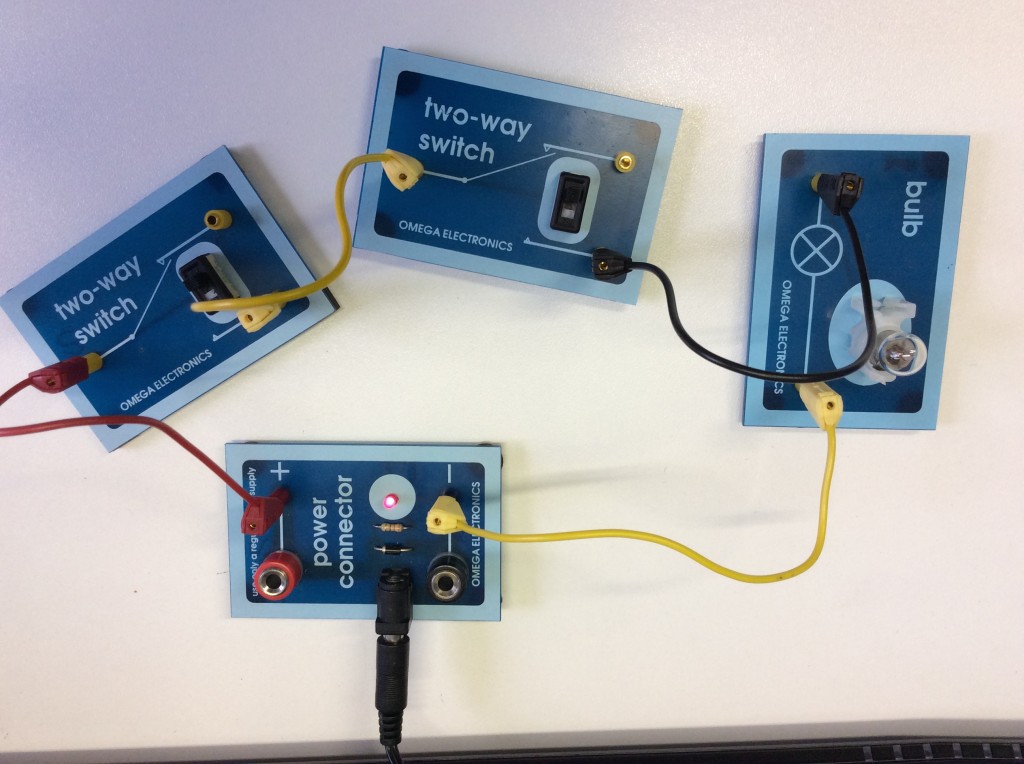
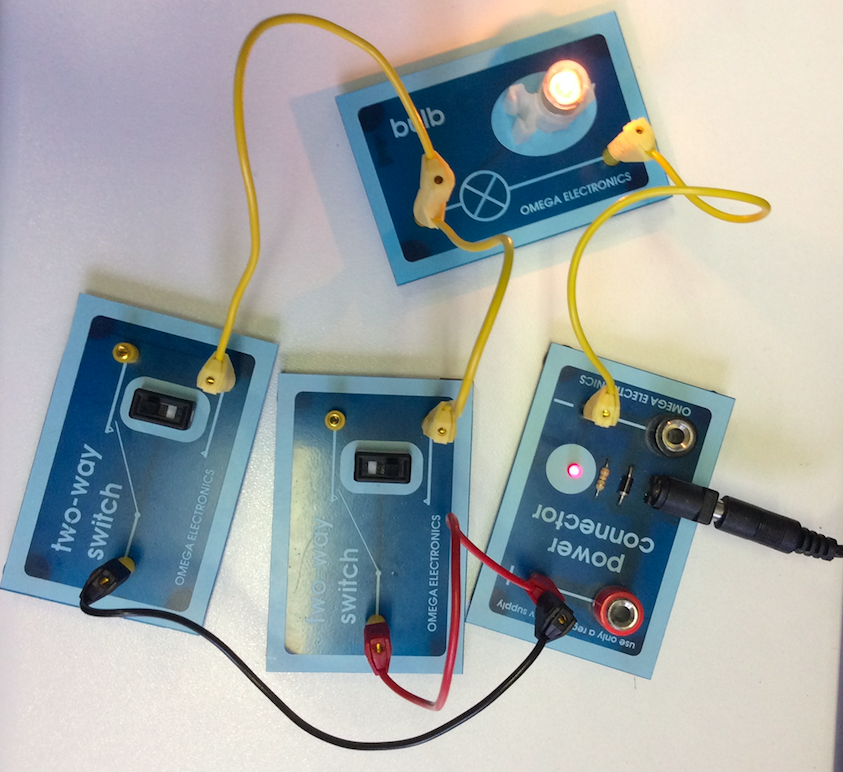
I borrowed some modular electronics from the DT department to build first an AND gate. All you need is a power supply, two switches in series and a lightbulb. I got the girls to wire this up from a circuit diagram on the board:

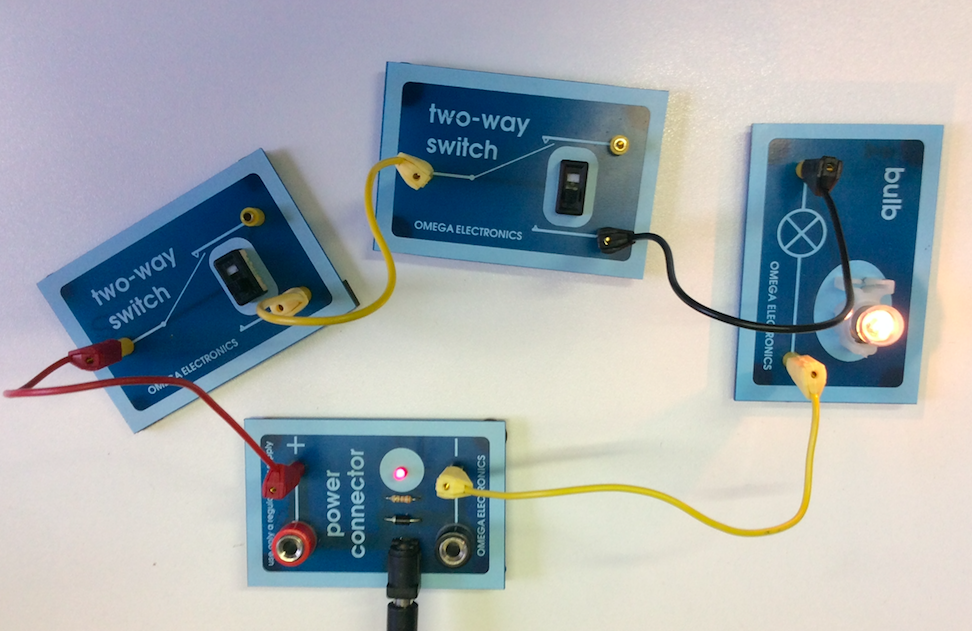
I then let them discover that we could only light the bulb if the first AND second switches are both turned on.

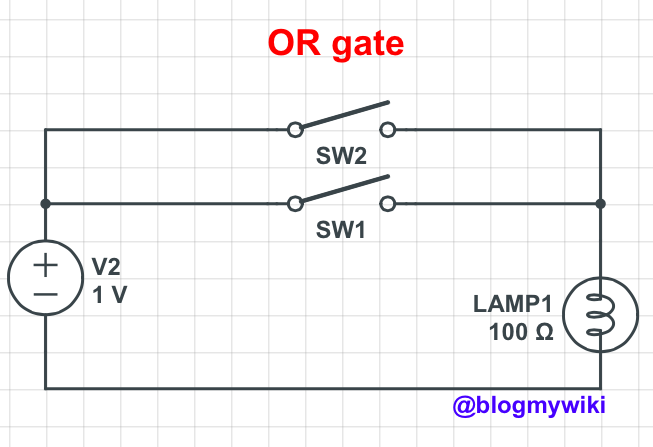
We used this to fill in our truth tables, then I got them to rewire the circuits with the switches in parallel.

This is, of course, now an OR gate as it lights the bulb if the first OR the second switch is turned on:

I didn’t have enough of these circuits, alas, for everyone to have a go, but there were a few (ahem) lightbulb moments that might not have occurred without the physical realisation of quite an abstract concept. Ideally I’d have a big bucket of switches, wires, lightbulbs and power supplies and my class could all build them themselves.

Update:
These modular electronics kits are called Economatics and were made by Omega Electronics. Unfortunately they don’t seem to be made any more – does anyone know of anything similar you can buy today? Needs to be VERY simple: switches, lightbulbs, wires – possibly relays but nothing more.

Posted in computers, education | Tagged , | 2 Comments

Arduino composite video out using only 3 resistors

It’s supposed to be easy – 2 or 3 resistors and you can get your Arduino micro controller to produce low-resolution black and white composite video. Well, it wasn’t for me. It took me hours to get it working, but I finally cracked it. It’s possible I was unlucky, stupid or possibly both – but I’m writing it up before I forget how I did it and in case someone else has the same problem.

I tried about 4 different projects on different web sites which all broadly worked the same way: you connect a couple of resistors to some pins on the Arduino, wire them up to a phono plug, install the TV Out library in the Arduino IDE, compile and flash the code and off you go.

I could not get any of the sample code to compile in the current version of the Arduino IDE. I lost track of the different error messages I got. I’d make progress then something else would break. Googling error messages kept telling me to install the TV Out libraries – which I had.

Spookily I’d decided to try an old version of the Arduino IDE at the same time that @gadgetoid on Twitter made the same suggestion. In the end I compiled and uploaded working code using version 1.0.1 of the Arduino IDE on an old Lenovo Ideapad running MacOS X 10.6 (Snow Leopard). I could not get any demo code to compile using the current version of the Arduino IDE, nor could I install an old version of the IDE on my MacBook because they required older versions of Java. Thank goodness for the old hackintosh!

I used:

  • An old Arduino UNO (perhaps its age was part of the problem)
  • a phono / RCA plug
  • some jumper wires
  • a small breadboard
  • A 470 ohm resistor
  • A 1K ohm resistor
  • A 75 ohm resistor
  • An old laptop to program the Arduino
  • an old CRT TV with a composite video input (most modern LCD TVs have such inputs – or you can use a SCART adaptor)

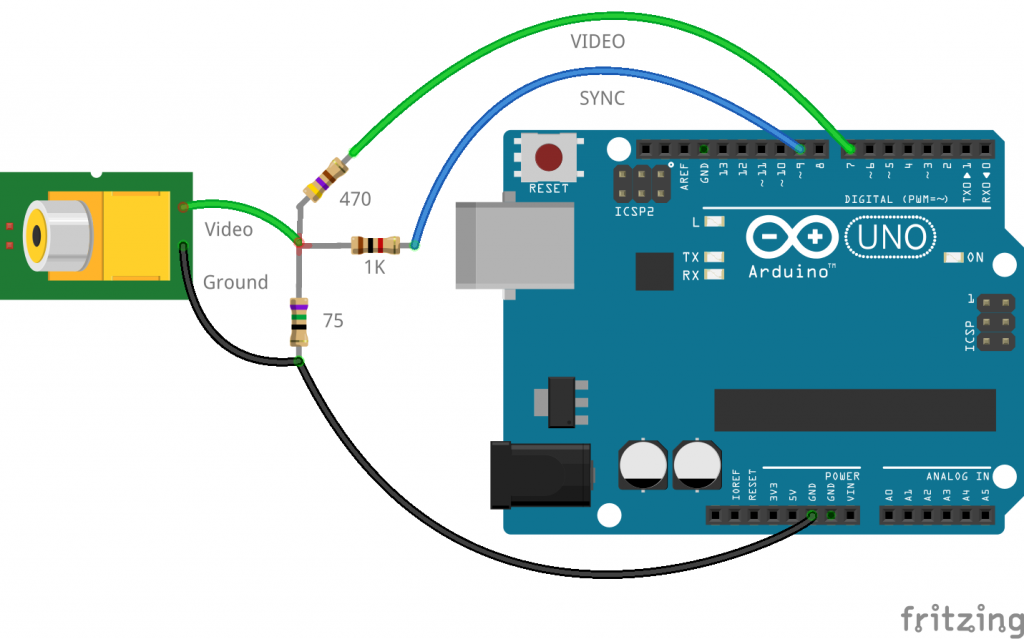
Here’s how I wired it up. (In the photo there are 4 resistors not 3 because I lacked a certain value and wired two together in series).

(I am grateful to microcontrollerelectronics.com for hosting the Fritzing diagram of their project – the only difference here is that I had to move the green video wire to pin 7 (not 8) as I am using an Arduino UNO not a Leonardo as they did.)

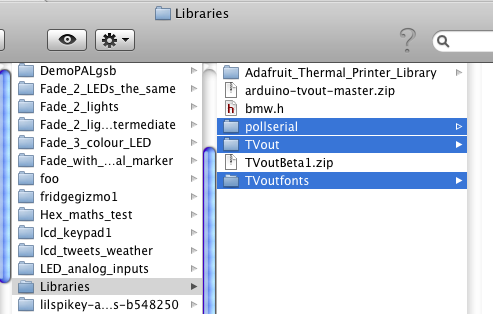
The version of the TV Out library that I think I used finally (there were so many) was TVOutBeta1.zip – unpacked the zip file and put the 3 folders pollserial, TVout and TVoutfonts in the Arduino/Libraries folder like this:

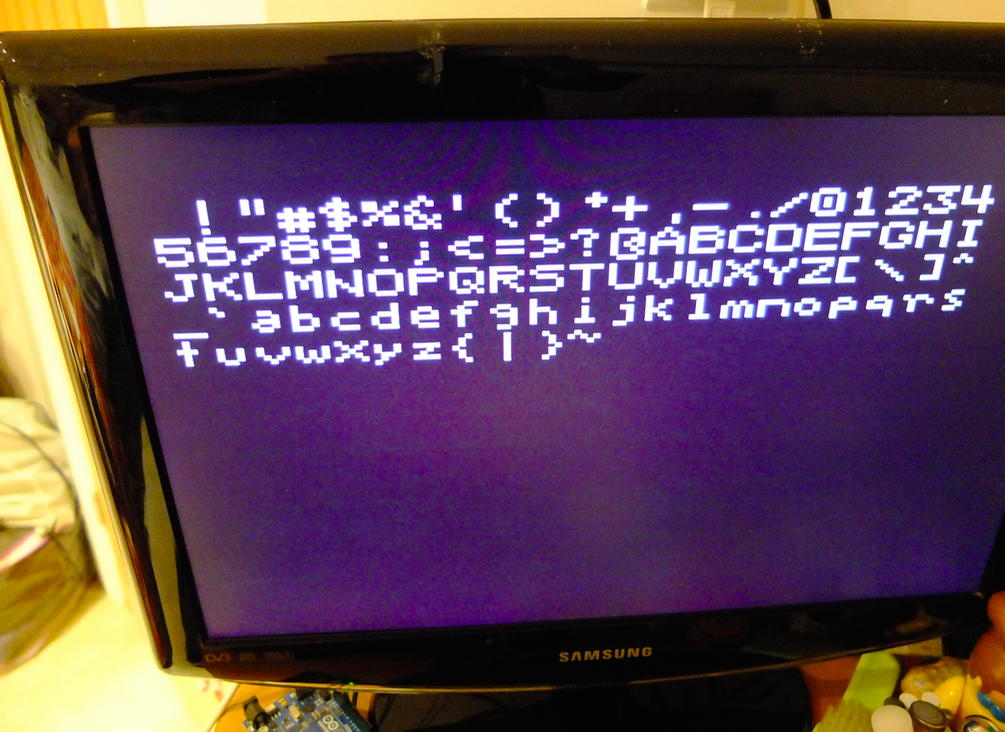
This is the code that finally worked – I’m afraid I can’t remember where I copied it from now, I had so many snippets of code on the go. If it’s yours I will of course credit and link (or remove it).

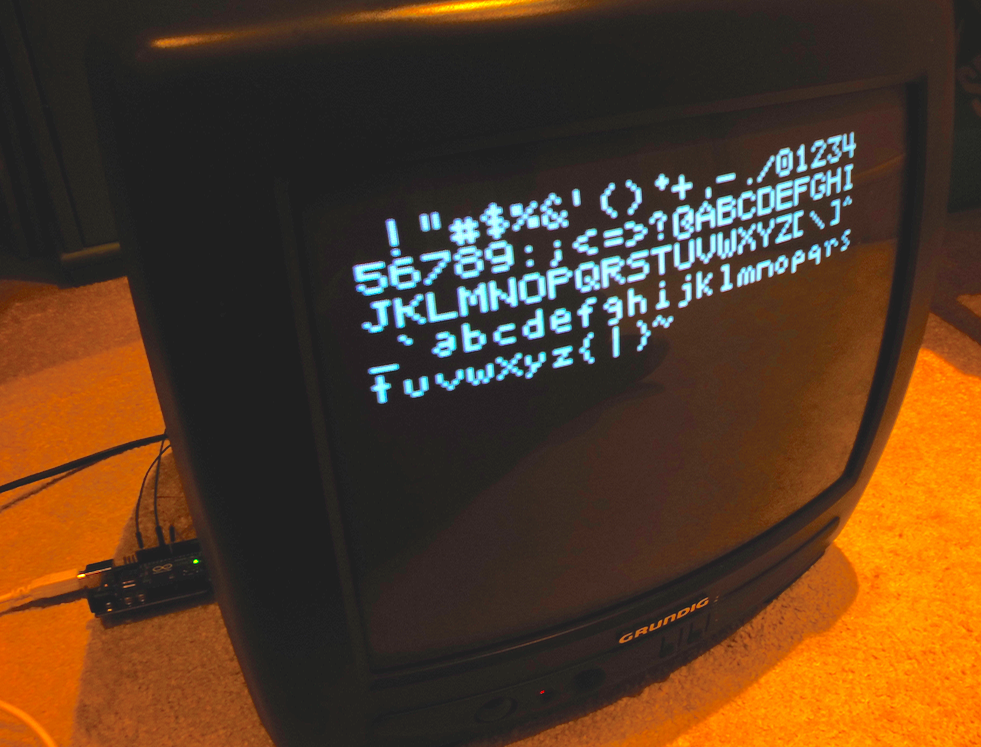
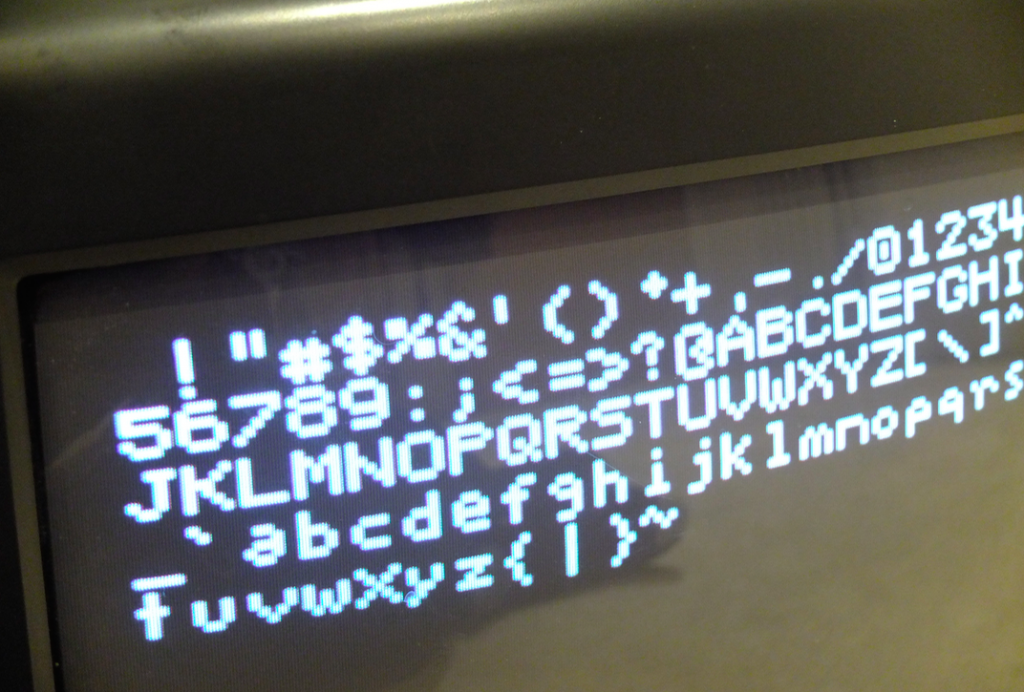
Here it is working on a modern LCD TV rather than the retro CRT model at the top of the page:

Now I wonder if I can remember why I wanted to get this working in the first place..?

#include <TVout.h>
#include <fontALL.h>

TVout TV;
unsigned char x,y;

void setup()  {
  x=0;
  y=0;
  TV.begin(PAL);	//for devices with only 1k sram(m168) use TV.begin(_NTSC,128,56)
  TV.select_font(font6x8);
}

void loop() {
  TV.clear_screen();
  x=0;
  y=0;
  for (char i = 32; i < 127; i++) {     TV.print_char(x*6,y*8,i);     x++;     if (x >= TV.char_line()) {
      y++;
      x=0;
    }
  }
  TV.delay(1000);
  TV.clear_screen();
  TV.println("Fill the Screen\nPixel by Pixel");
  TV.delay(1000);
  TV.clear_screen();
  for(x=0;x
Posted in Arduino, computers, hardware | Tagged , , , | 9 Comments

The truth about cats AND/OR dogs

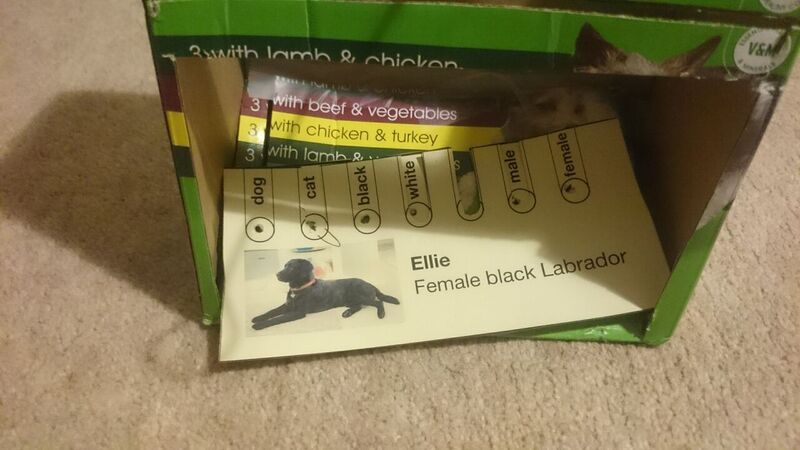
Here’s an activity I think you could do with almost any year group in KS2 or KS3. You could use it to teach about the origins of modern databases in Hollerith’s punch cards used to collect US census and immigration data in the 1890s. You could link it to the Jacquard loom punch cards that Ada Lovelace and Charles Babbage envisioned being used to program the Analytical Engine in the 1830s. You could also use it to teach logic gate concepts like AND and OR.

I got this idea from a school’s TV programme I must have seen over 40 years ago, which I only just remembered when reading about Hollerith’s tabulating machines in Code by Charles Petzold.  I think it was a programme about data processing and computers, and they made a really cool selection tool using a cornflake box, punched cards and pencils. I can’t remember the precise configuration, and it was way cleverer than this project, but it works on a similar principle.

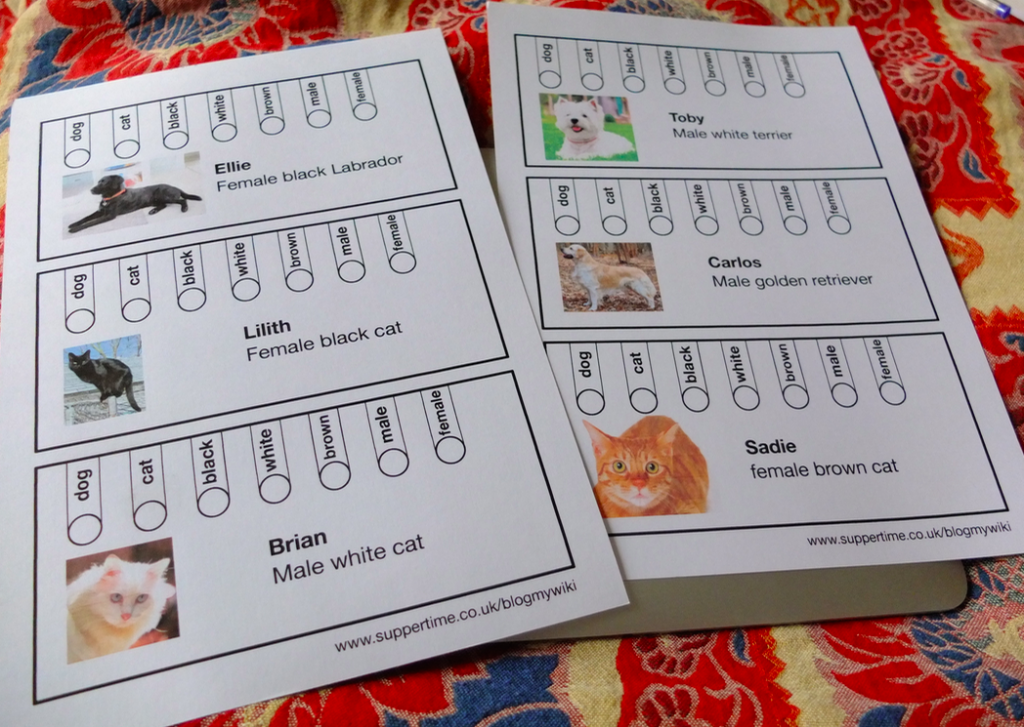
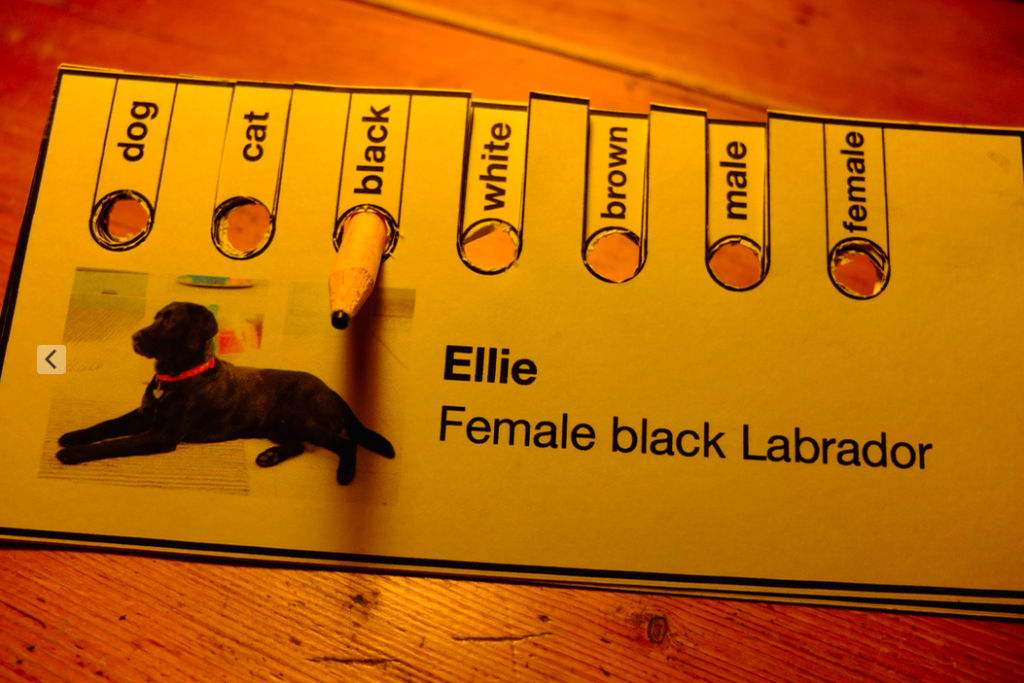
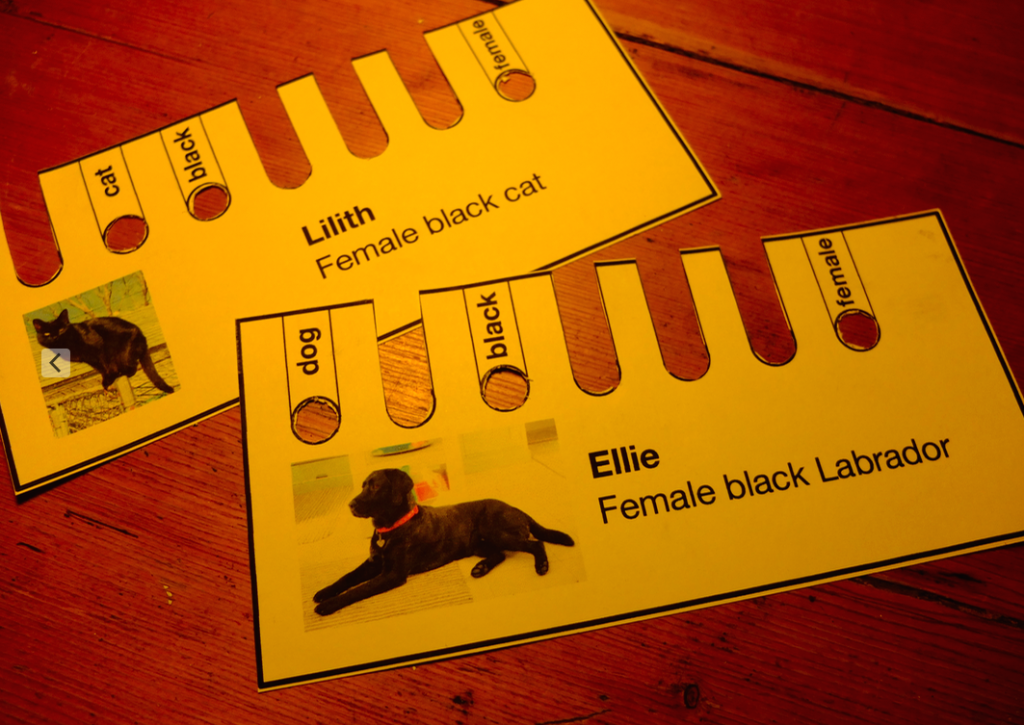
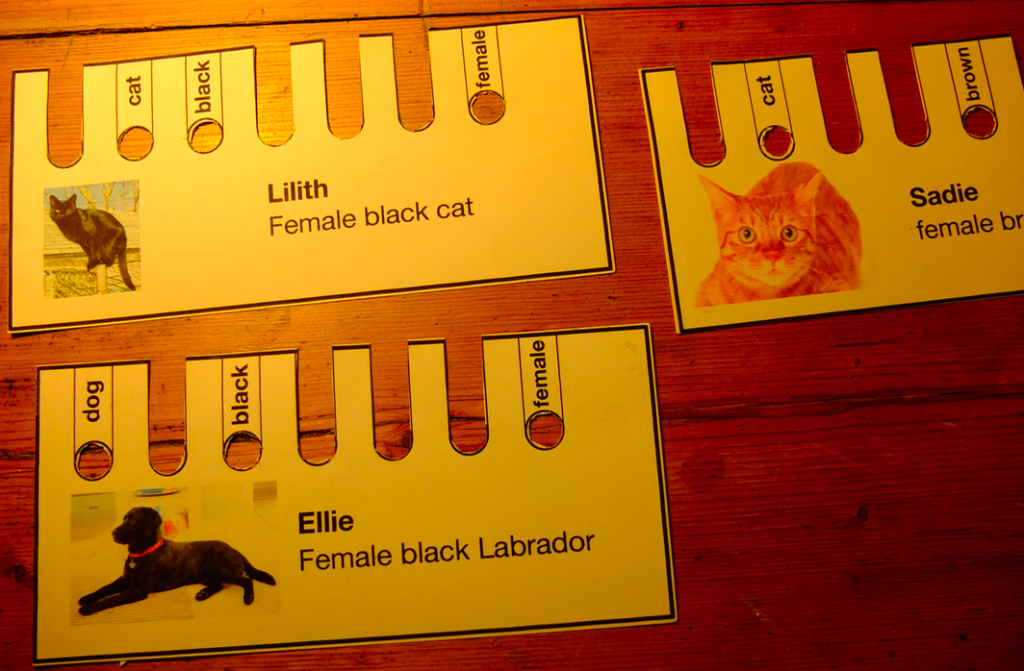
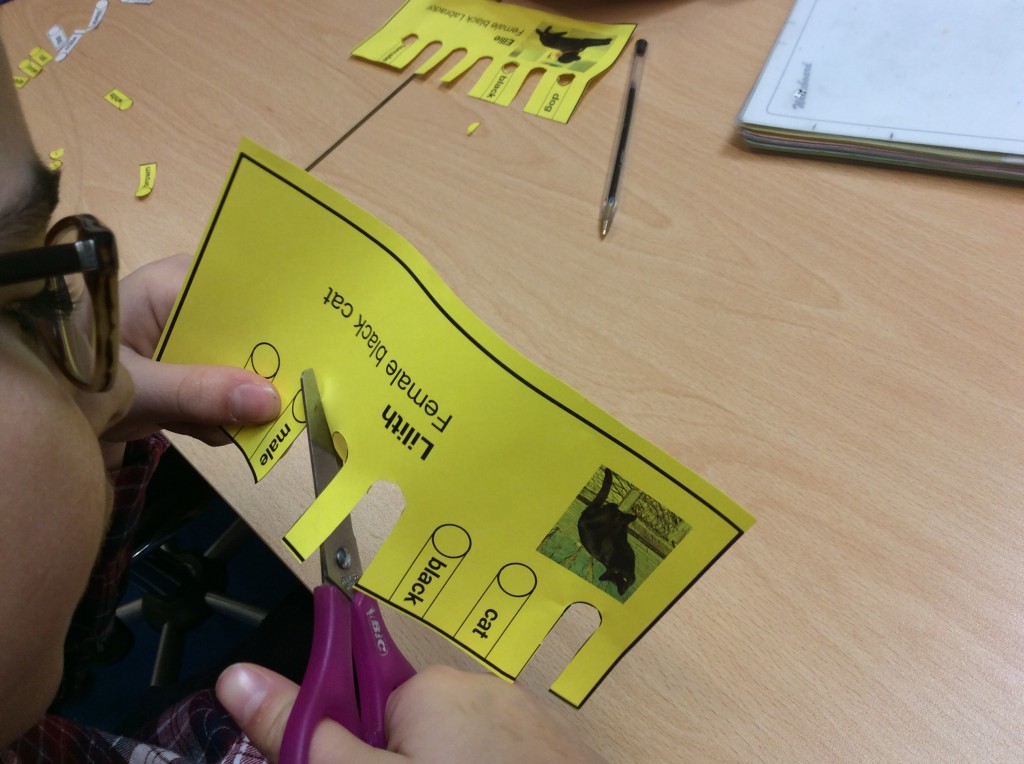
You have a stack of cards about cars, people, or in my case pets. You encode their properties using either a punched hole or a slot. For example my pet is a dog, black and female, so I snip out all the other labels and leave holes for dog, black and female.

I do the same for all the other animal cards and stack them up. The neat thing is that all the property fields are visible no matter what card is on top.

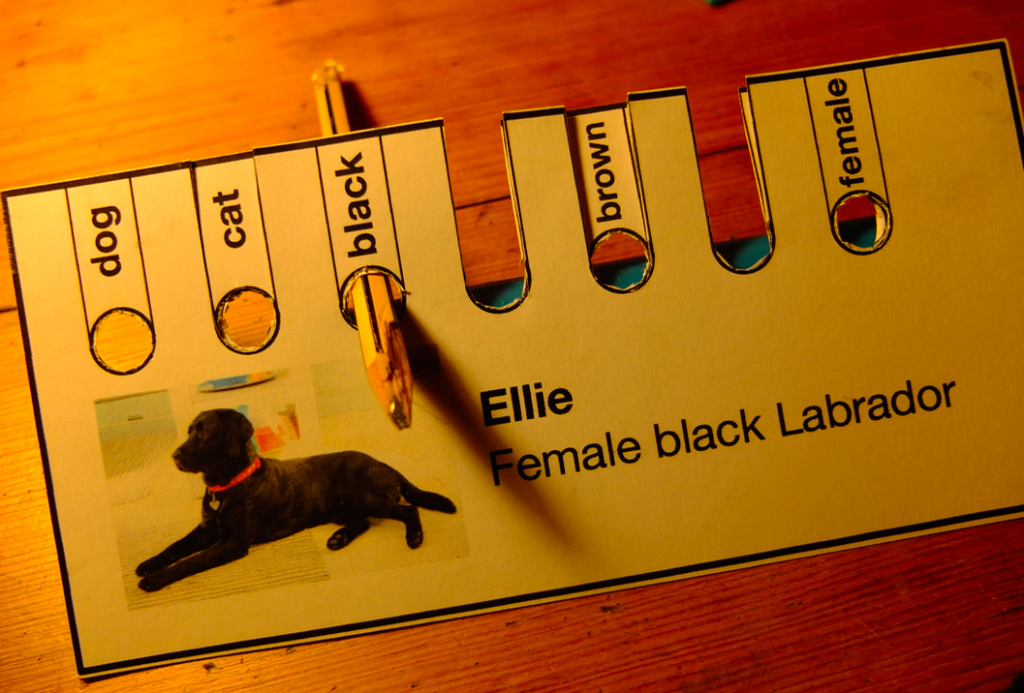
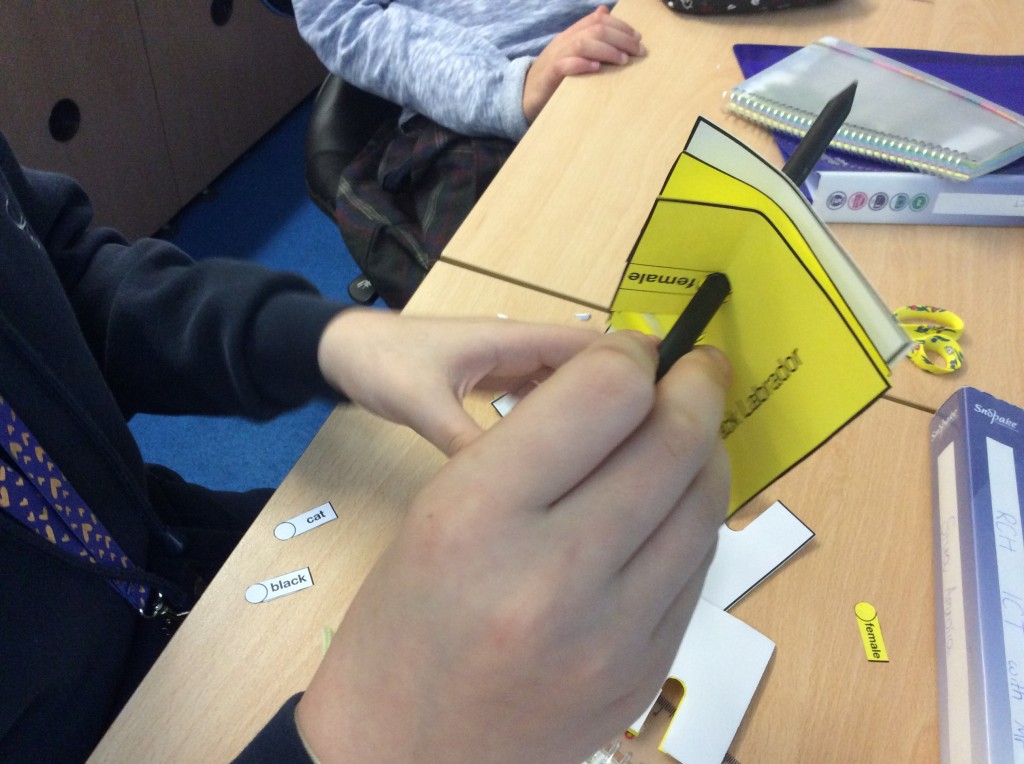
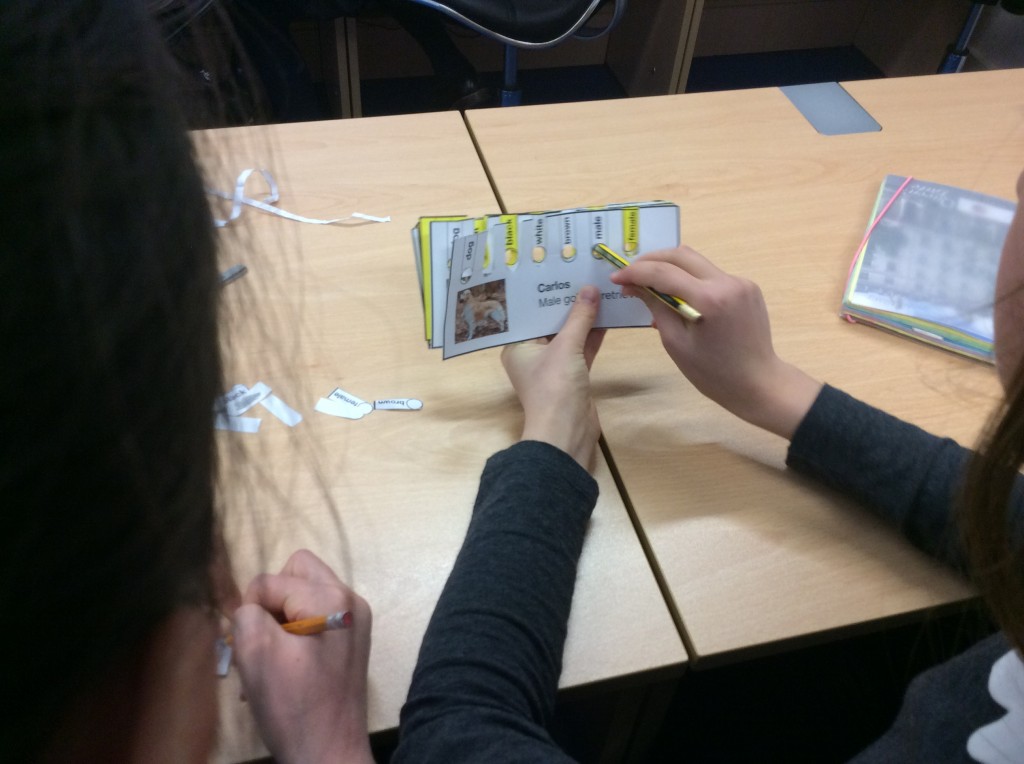
Now if I put a pencil in the black hole and lift it up, it picks up all the black animals in the pack. This is like running a query in a database:

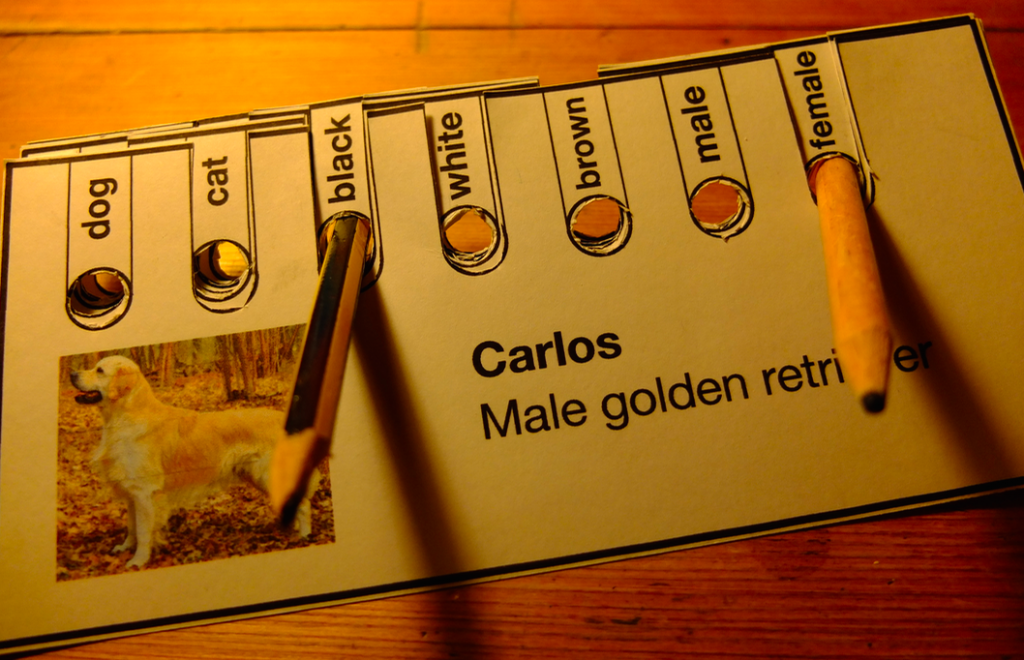
Of course I may want to select more than one property at a time, and I can do that with these cards. Say I want to sort out all the animals that are black AND female. Aha, I know, I’ll put a pencil in the black hole AND the female one. (It doesn’t matter what order the cards are stacked in).

The results, however, may not be quite what you may expect. We seem to get all the animals that are black OR female, shown on the left. (Rejected cards left behind are on the right – note that these are NOT black and NOT female.)

So we need to sort them again. I stack up the 3 cards I picked up on the left and re-select black. (I could also reselect female but they are all already female). Note that we can see that we now have no white, male pets left in this stack.

Finally I’m left with just the pets that are black AND female, Lilith the cat and Ellie the dog on the left:

There’s lots of scope for expanding this. Can you redesign the cards so you can select black AND female in 1 pass rather than black OR female as I do here? You could build a frame with levers or pins in a DT project. And using the blank cards you can make as many cards as you like, or make your own cards with more than 7 properties. Could you encode numbers, either as binary or using the system Hollerith used with number ranges? The possibilities are endless.

You can download PDF files of the cards here.

Please let me know your ideas or if you have used something similar in class!

UPDATE

Thank you so much to Barbara Kershaw (see comments below) who not only saw the same schools’ programme, she also remembers how the box was made – and she just built one! Here are her amazing photos:


Posted in computers, education, ICT | Tagged , , , , | 6 Comments