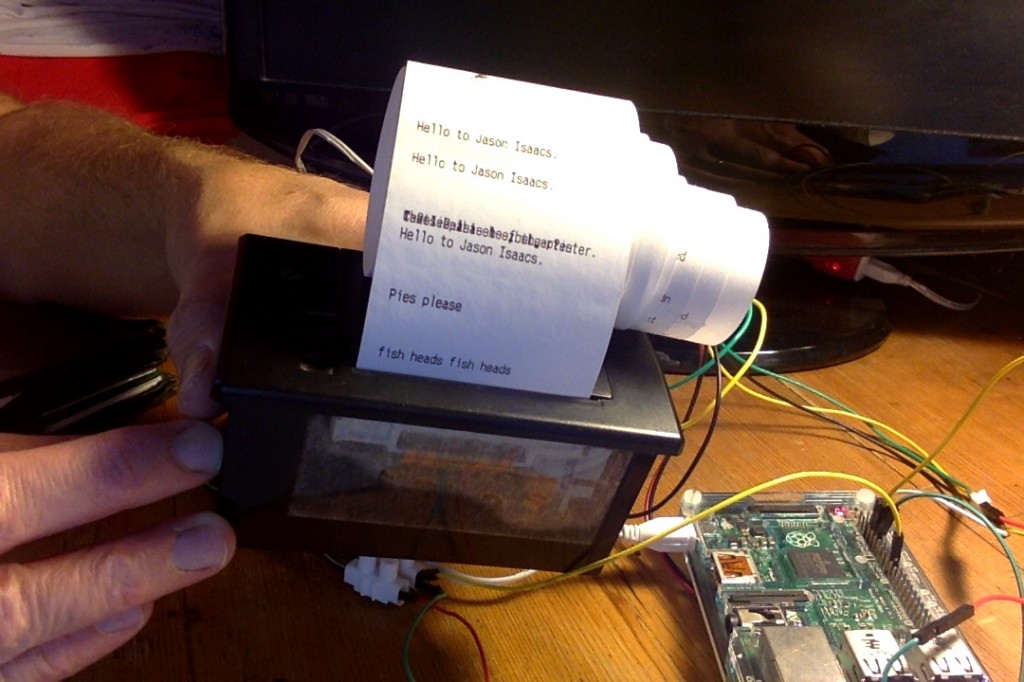
I’ve been rediscovering my old Sparkfun serial thermal till roll printer, the one I used for my Little Box of Poems, a connected IoT printer, printing from the BBC micro:bit and other projects. These printers are great fun and can also be bought from Adafruit and Pimoroni.
Using an old Raspberry Pi 2 (serial thermal printers don’t work very well with Raspberry Pi 3s) I made a networked CUPS printer that… sort of worked:
I used this Adafruit tutorial and could print artwork or photos from any computer on the home network. Printouts were rather faint, however – possibly because the power supply for my printer doesn’t have enough oomph (though it is 5V, 2A which should be enough). I also get corruption when I try to print long graphics, and I’m not sure why.
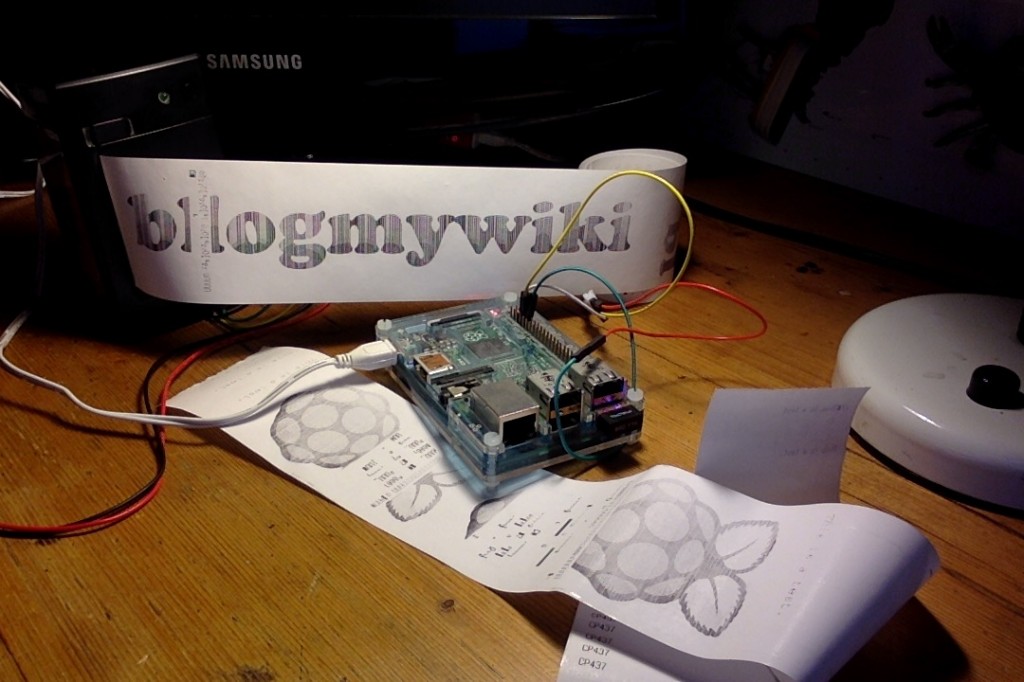
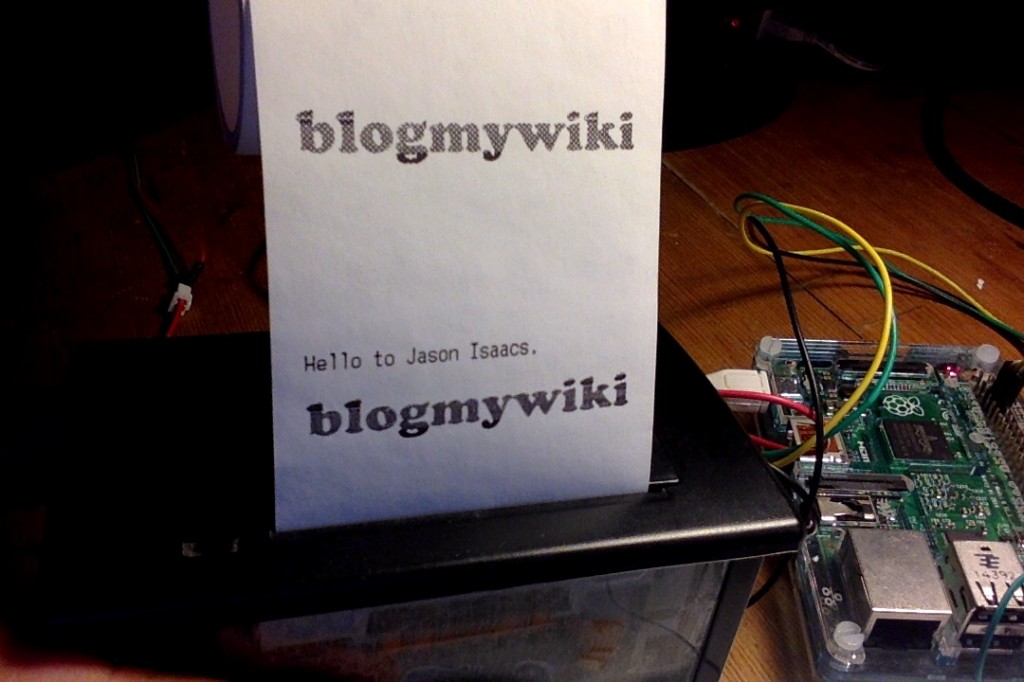
Next then used this Python program to print text and graphics directly from the Pi. This worked much better as it allowed me to increase the heating interval and heating time – this results in slower, but much darker, prints. It will only print graphics in black and white with no dithering at all, unlike the CUPS printer. In this example the top logo is printed from my MacBook using the CUPS driver, the one below printed directly on the Pi using Python:
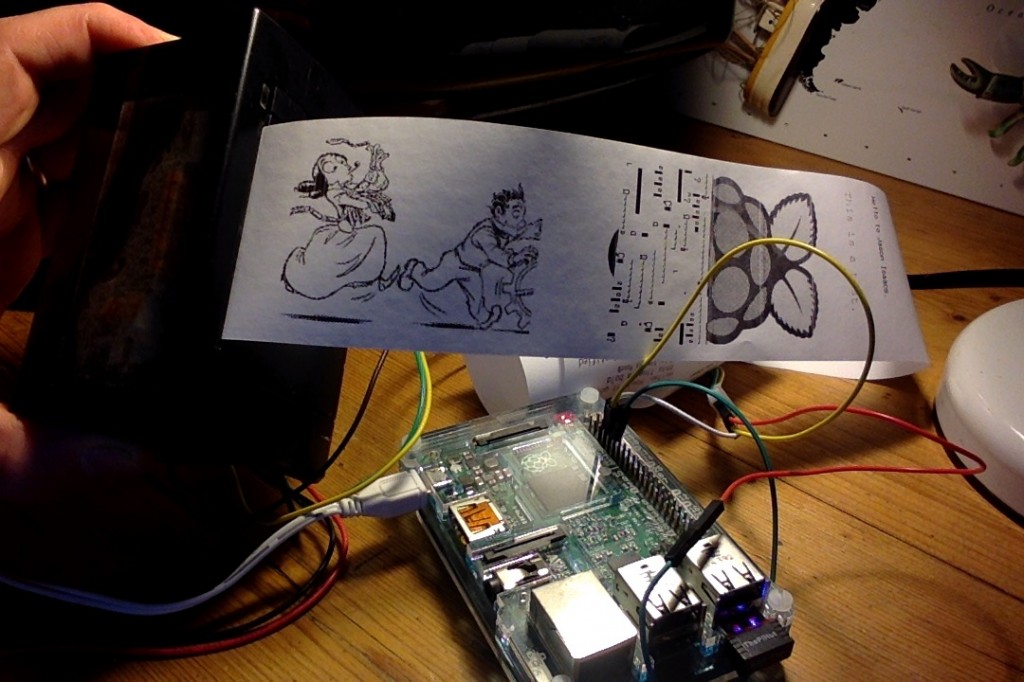
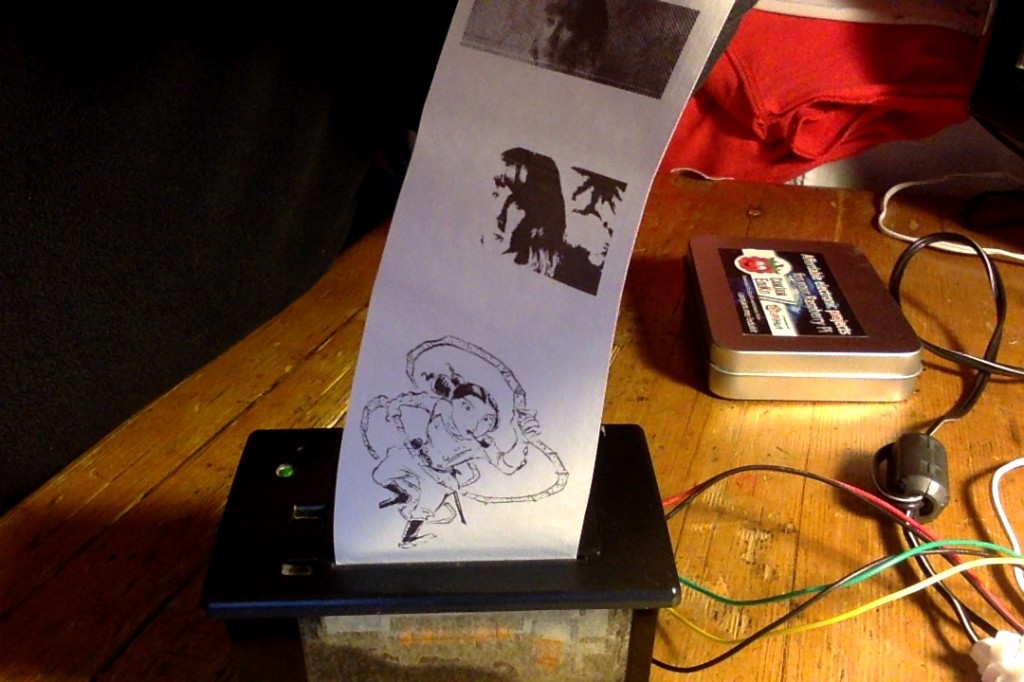
 Here you can see a photo printed using CUPS (dithered) and then using the Python luopio script (no dithering, just black and white). Plus a bonus Ada Lovelace cartoon:
I did find that if I printed something using the Python script (increasing the heating time) this seemed to stick and the CUPS networked printouts were clearer – although still, infuriatingly, corrupted.
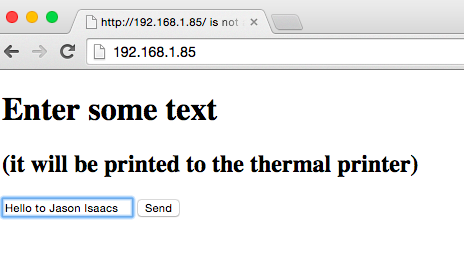
I was then rummaging round the web looking for ideas when I stumbled upon @techcoed’s post about sending messages to a pipsta thermal printer from a web page. This seemed like a neat idea so I half-followed his guide and then mashed his code up with the luopio serial printer library. (The pipsta uses USB and is a different kind of printer entirely). And I got it to work! I can run a Python script on the Pi, go to the Pi’s IP address in a web browser on any phone, laptop etc on my home network, type in a message and it prints out on the thermal printer:
Here’s how I did it… (link to files at the end of this post).
I did not install flask as it was already on my Pi – see the pipsta instructions if you need to do this. The printer was already connected to the Pi’s serial output as per previous blogposts.
First I tweaked Dan’s HTML a bit (I couldn’t see a button!) and saved it in a file called print-form.html in a new folder called ‘templates’ (lower case ‘t’) that I made in the /home/pi/ folder.
I then made a new Python file called flask-print.py and saved it in the /home/pi directory. This was a mashup of Dan’s code and the serial Python printer code. Having made sure I knew the IP address of the Pi on my local network, I ran the Python script from the command line with sudo python flask-print.py
Then I pointed my laptop web browser to my Pi’s IP address, typed words in the form, pressed ‘send’ and the message appeared on my printer!
You can download a .zip file containing both the Python script and the HTML file by clicking on this link. Let me know if you use this and if you have any ideas for it.

