Back in 2017 I played with projects to get composite video from an Arduino – huge fun and very satisfying in a retro way. After trying TinyBASIC on a BBC micro:bit, I fell down a bit of an internet search rabbit hole and discovered the world of IchigonJam (strawberry jam!), a Japanese computer the size of a Raspberry Pi that you program in BASIC. It uses a PS/2 keyboard and produces low-resolution composite video to be viewed on a TV with an AV input. A very cute and intriguing machine.
It had been bugging me for years that it must be possible to get composite video out of a BBC micro:bit the same way as on the Arduino and IchigonJam. And it is, and someone has already done it. Welcome, IchigonQuest! It’s a very quirky, very Japanese way of coding microcontrollers in something a bit like BASIC. There’s a whole ecosystem around it, and as they’re not shipping to the UK at the moment I put it out of my mind.
Then I found there’s a micro:bit port of it. And I got it working. I have no idea what I’m doing, but it works! The micro:bit becomes a self-contained computer with its own keyboard and screen that you can program on its own.
Here’s what I used:
- A V1 BBC micro:bit
- A micro:bit breakout board
- Various jumper wires
- A small breadboard
- A 100 ohm and a 470 ohm resistor
- An RCA / phono plug to get video into the TV
- A TV set. I used a cheap fairly modern Chinese one, bought in the UK but still apparently happy to display NTSC video
- A PS/2 keyboard. (Found on the street with the plug helpfully already chopped off – as used in my previous micro:bit PS/2 keyboard projects).
- Downloaded microDakeOS.20180925.zip from https://p.na-s.jp/, extracted ichigonquest.ubit.dj.en.hex and flashed it to the micro:bit
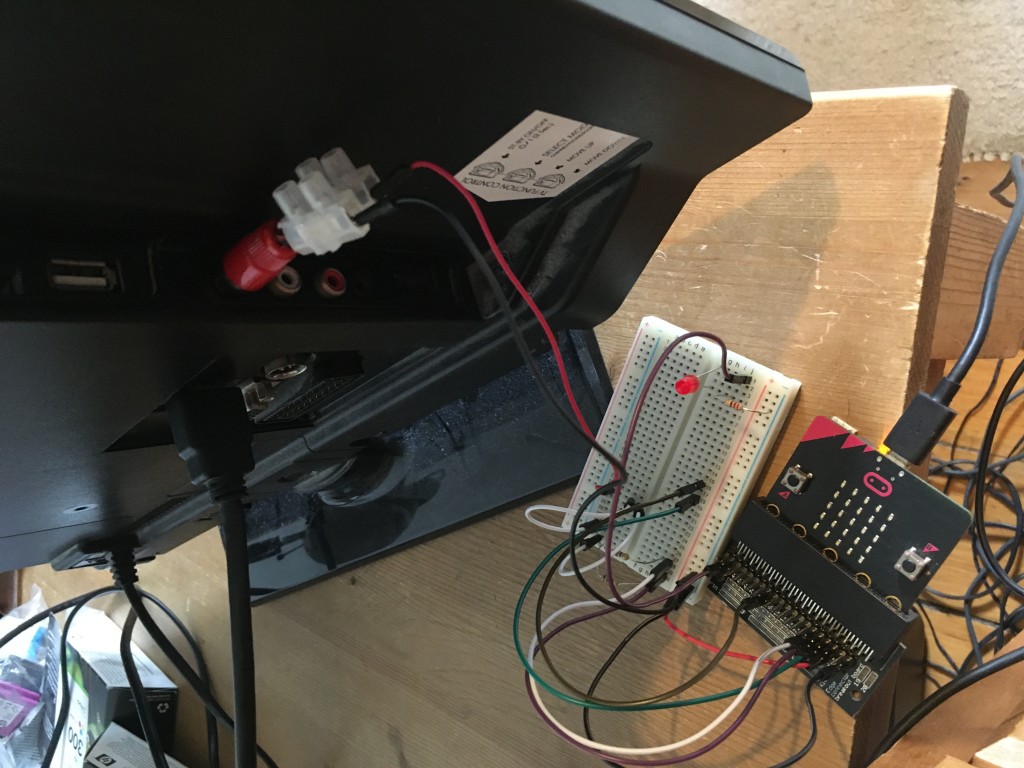
Here’s how I wired it up:
| micro:bit pin | connect to |
|---|---|
| 15 | 100 ohm resistor to video out phono inner PIN |
| 14 | 470 ohm resistor to video out (same as above) |
| GND | video GND (outer ring of RCA / phono plug) |
| 16 | PS/2 keyboard clock wire |
| 8 | PS/2 keyboard data wire |
| 3v | PS/2 keyboard 5v power in wire |
| GND | PS/2 keyboard ground wire |
I very much was not expecting to see anything. I’d bodged together these wires from web pages in Japanese I barely understood even with Google Translate, and filled in some gaps from my own experience connecting PS/2 keyboards to micro:bits. I connected it all up, turned the TV on, switched it to the AV input… and a picture appeared!
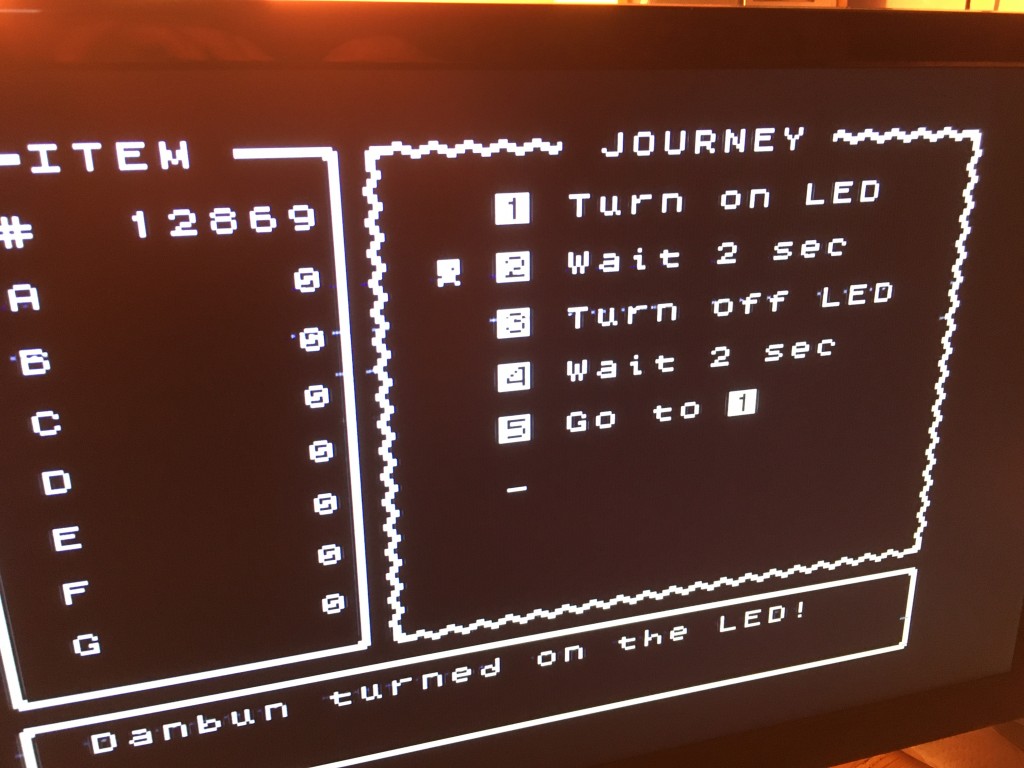
I’m still puzzling out how it all works, but I managed to draw my own icons on the micro:bit display and even wrote my first proper program!
And here’s a bit of a longer walkthrough of how it works:
Sound update
I’ve now figured out that the piezo speaker goes on micro:bit pin 12! Alas it only beeps, you can’t seem to play tunes on it. But it’s a nice addition.
And yes, that’s forbidden pin 12, reserved for accessibility. So if you want to hook up a buzzer, you’ll need a breakout board that allows access to this pin. The Kitronik one I have does, but the Pimoroni pin:bit doesn’t. (Not a criticism of Pimoroni, you’re really not supposed to use pin 12 for anything!)
New video update
Here’s another video talking about how much coding IchigonQuest is like assembly language. And I demonstrate my inability to remember its name:
Button update
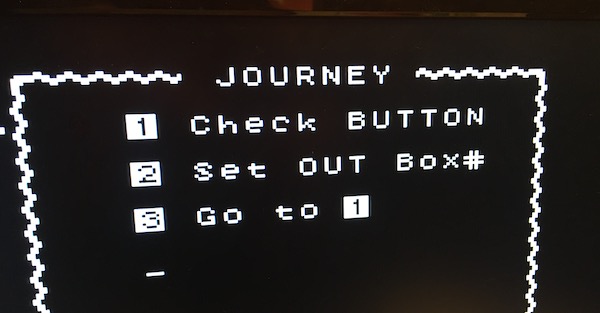
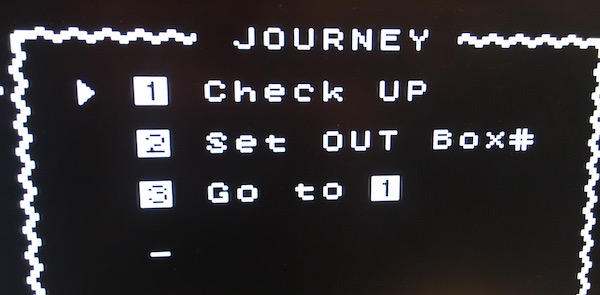
These two programs make things happen when you push a button – so you could use this to start making a game by moving a character round the screen in different directions depending on the arrow key pressed.
The code above checks to see if a micro:bit button has been pressed, either A or B, and if it has, it sends a signal out on pin 0 (connected to an LED in my set-up).
This program checks the PS/2 keyboard to see if the up arrow / cursor key has been pressed. If it has, it also sends a signal out on pin 0, lighting my LED. You can check all 4 arrows, and enter.


Has anyone managed to get ntsc video working on a v2 micro:bit?
Not that I’m aware of, but I think it should be possible if the C++ code for the original project is recompiled for a micro:bit V2.