It’s quite easy to make fake 3D anaglyph images in Photoshop, the kinds of images you view with red-blue 3D glasses. Here’s a guide for example, and here’s an image I made years ago with text in Photoshop:
But can you do this with GIMP? Well, I think it’s quite hard but can be done. I’m not a big fan of GIMP, but it is free and it’s very cross-platform. And free is my favourite price.
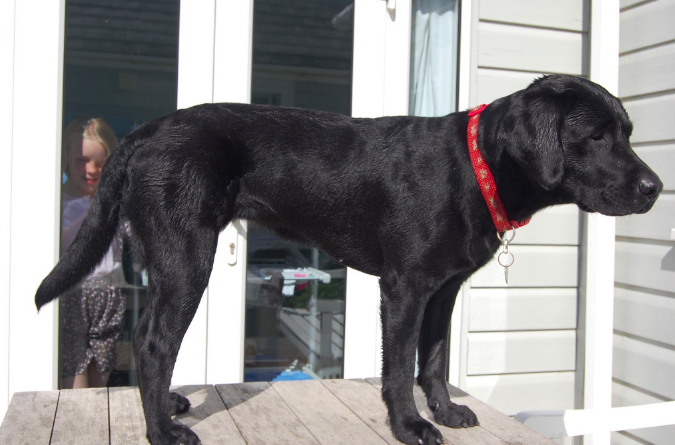
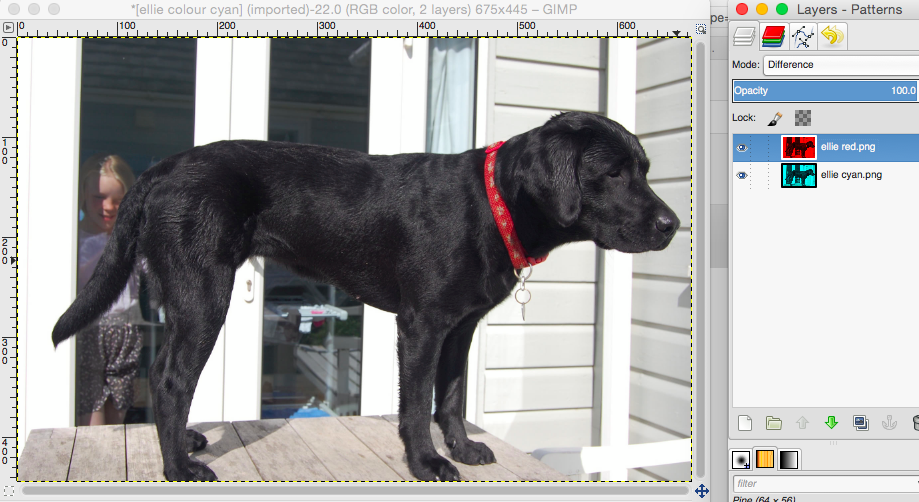
I started with this image of my dog Ellie, and thought I’d have a go at making her stand out from the background:
I opened it in GIMP and then went to Colours > Components > Channel mixer.

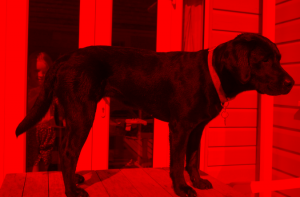
I then isolated the red channel by picking each channel and turning green and blue down to 0% and leaving red at 100%. You seem to have to do this 3 times, once for every output channel.
I then exported this as a new image, ‘ellie red.png’
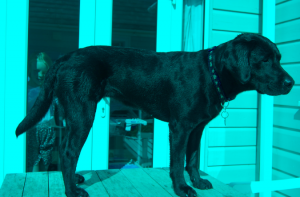
Then I did the same to create a cyan image, by having red at 0% in each channel, just green at 100% in the green channel, and just blue at 100% in the blue channel, and exported this as ‘ellie cyan.png’
I then went File > Open as layers and opened the red and cyan images:
If you then have the red layer on top and you change the mode of the red, top layer to difference, you should then see a full colour image made from your red and cyan layers:
Now if you move the red layer left and right, you can experiment with creating a 3D effect.
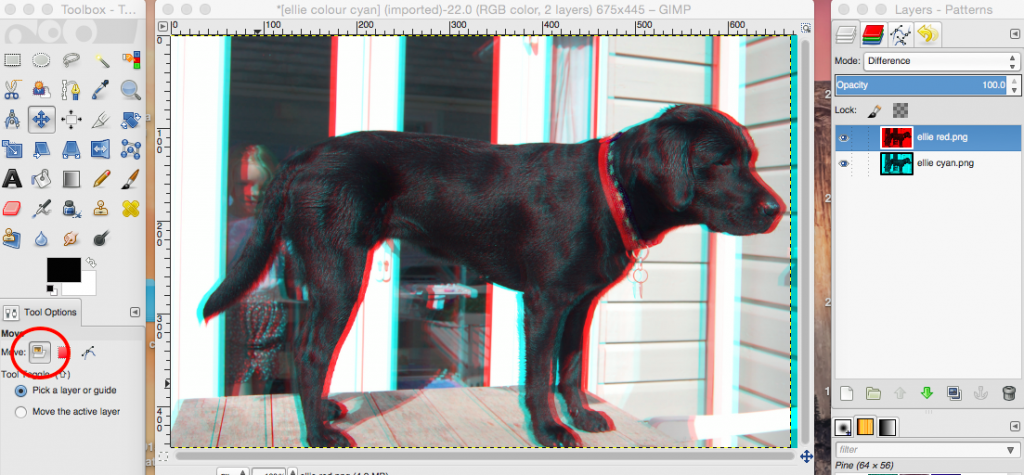
Moving layers is annoying in GIMP – you select the move tool, fair enough – but then you have to ensure you have the layer button selected (highlighted with red oval below):
Don your 3D specs! If you move the red layer left you should see the whole image move backwards behind your computer screen! We want our dog to stand out, so I moved the red layer right instead, and got something like this:
When your happy with the 3D effect go to Layer > Merge down in the menu.
Now we have a 3D image that should stand out from your computer screen, but I want the dog alone to stand out. The way I did this was to open the original full-colour image as a new layer and move it to the bottom. The mode of the top layer should be normal.
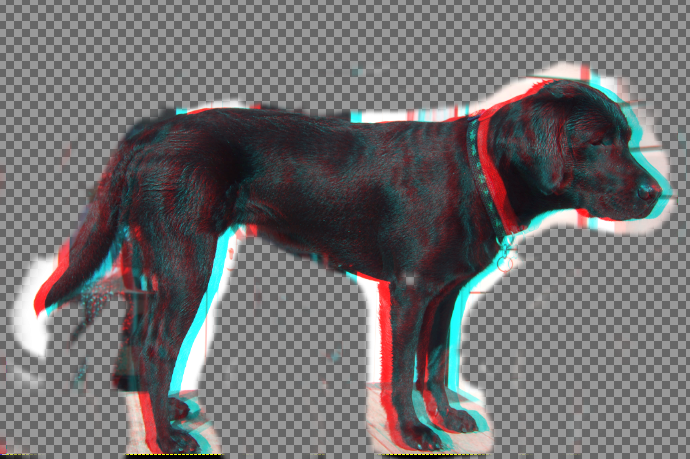
Then, using the eraser tool, I turned off visibility for the bottom, full-colour layer and roughly erased all the background parts of the anaglyph-coloured shifted image layer:
Then when you turn the visibility of the full-colour layer back on, you should see something like this:
The background should remain unshifted and Ellie the dog should be standing out.
If there’s a simpler way of shifting colour channels in GIMP, please let me know!

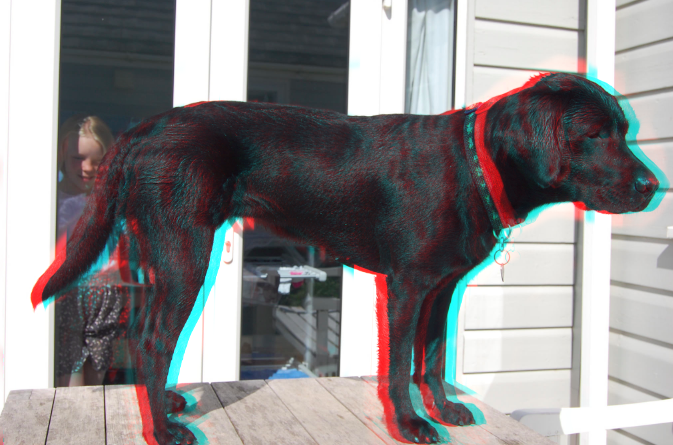
I believe if you want the dog to stand out, you need to apply the effect to the background instead. Like as if your eyes are focused on an object closeby, the background images are doubled. And then, the farther away an object is, the bigger the separation of the double images. In this way, you can create multiple plains in multiple distances.
Also, thank you for the Gimp instructions. I combined two photos from a stereo camera into an anaglyph, all thanks to you :)
Easiest way to separate channels in GIMP is the Channels tab. (It’s the one right next to the Layers tab you’re using, but with red, green and blue pages instead of white ones.) Unselect Green and Blue, Offset the image along X, reselect Green and Blue.